
Want to create your own website without spending hours learning how to code or design everything from scratch? That’s exactly what we’re going to explore in this Bluehost AI Builder tutorial.
Bluehost AI Builder allows you to describe the website you want, upload your branding, and let artificial intelligence handle much of the initial website-building process.
And here’s the interesting part: it’s $0 to start, no credit card. That means you can experiment with the builder before deciding whether it’s something you want to use for your business.
For this walkthrough, I used Bluehost AI Builder to create a website for my other brand, Marketing Island. I’ll show you how I approached the initial setup, what the AI generated, the changes I made, and how the publishing process worked.
Let’s get into it!
Paid Partnership & Affiliate Disclosure: This article is part of a paid partnership with Bluehost and contains affiliate links. If you sign up through my links, I earn a commission at no extra cost to you. This helps support me and allows me to continue creating helpful tutorials and reviews.
What Is Bluehost AI Builder?
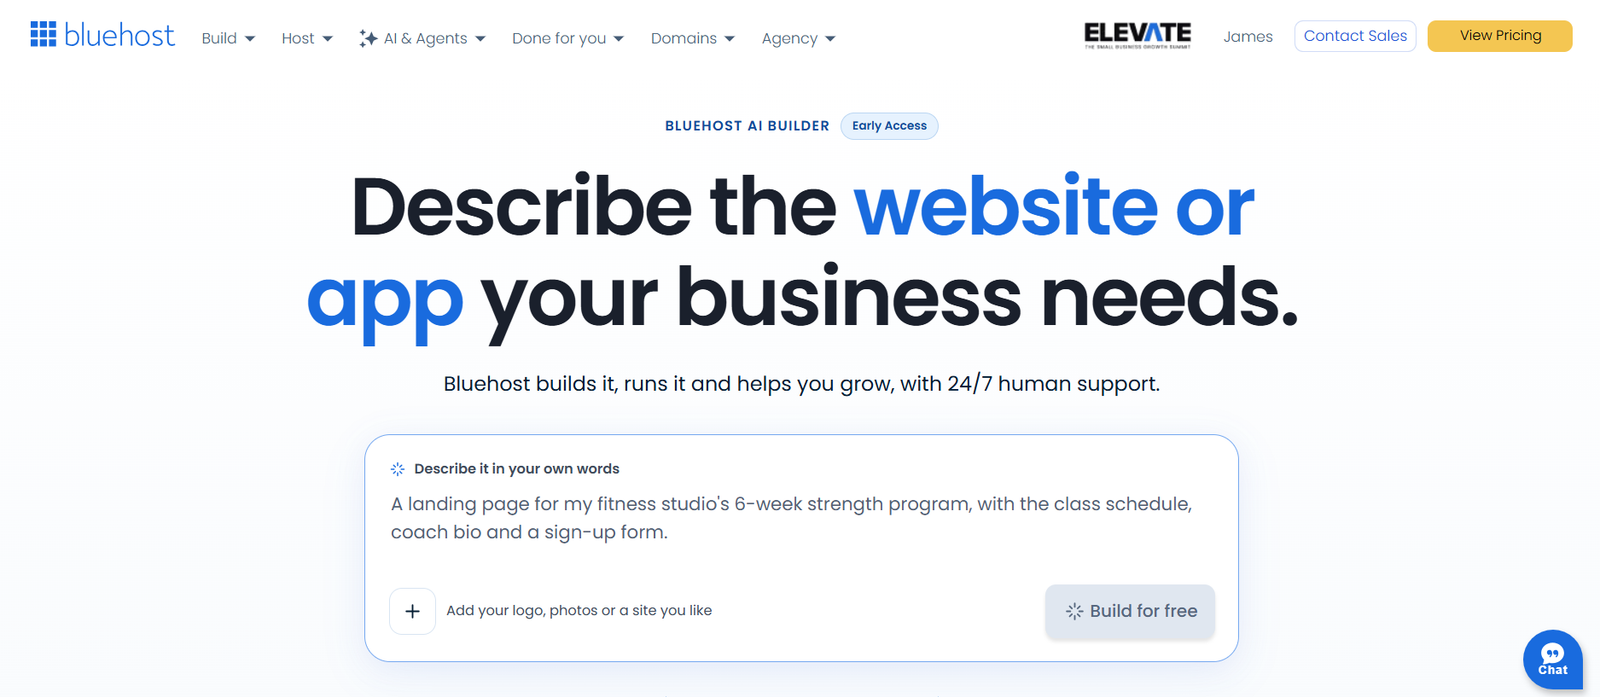
Bluehost AI Builder is an AI-powered website-building tool that lets you create a website by describing what you want in everyday language.
Rather than starting with a completely blank page, you can explain your business, specify your preferred design, upload a logo, and have the builder generate an initial website.
You can then review the results and request additional changes using written instructions.
For example, you might ask it to change a headline, adjust the design, replace an image, or remove an unwanted section.
For this tutorial, I wanted to see whether Bluehost could create a professional website for Marketing Island without requiring me to manually design every individual section.
Step 1: Get Started With Bluehost AI Builder
To begin, open Bluehost AI Builder using the link below.
👉 Try Bluehost AI Builder: $0 to start, no credit card
One of the first things you’ll notice is that Bluehost gives you several ways to explain what you’re trying to create.
You can describe your website in your own words, upload a logo or images, or provide an example of another website you like.
I decided to combine two of these options: uploading my Marketing Island logo and providing a detailed description of the website I wanted.
This approach gave the AI a visual reference for my branding while also explaining the overall purpose and layout of the website.
Step 2: Upload Your Logo And Branding
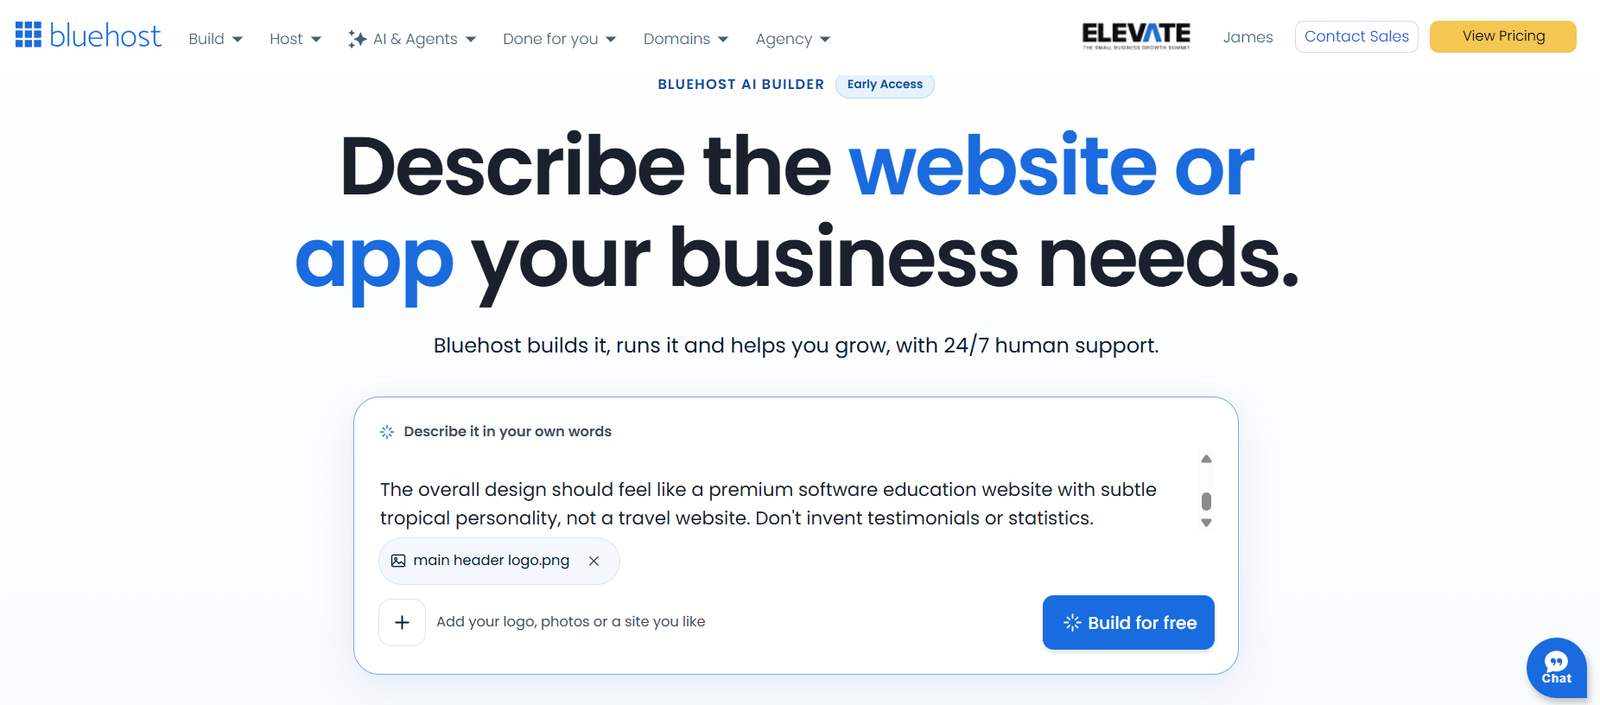
Before generating the website, I uploaded a newer Marketing Island logo that I hadn’t started using on my existing website yet.
The goal was to see whether Bluehost AI Builder could use that logo to establish the overall look and feel of the new design.
Marketing Island uses tropical-inspired branding, particularly blue and green colors, so I wanted those colors reflected throughout the website.
To upload your own branding, click the option to add a logo or photos and select the image from your computer.
Once uploaded, the image becomes part of the information available to the builder when generating your website.
Quick tip: If your logo is supposed to have a transparent background, consider uploading a transparent PNG. I noticed later that one version of my logo had a white background that didn’t blend perfectly with every section of the website.
That’s a small detail, but it’s worth getting right from the beginning.
Step 3: Write Your AI Website Prompt
Next comes one of the most important parts of the process: explaining what you actually want Bluehost AI Builder to create.
You don’t need to know programming languages or write complicated technical instructions. Instead, describe your business and the type of website you’re looking for.
For Marketing Island, I provided a prompt explaining that the website should help entrepreneurs and creators discover software for growing their online businesses.
I also specified several important design preferences:
- Use my uploaded logo in the website header.
- Match the branding with tropical blue and green colors.
- Create a clean, modern, professional appearance.
- Include a homepage headline about finding the right software.
- Feature software reviews, comparisons, tutorials, and recommended tools.
- Highlight categories such as AI website builders, email marketing, online courses, and landing pages.
- Create additional pages for About Us, Recommended Tools, and Contact.
- Make the website mobile-friendly.
I also included an instruction not to invent testimonials or statistics. That’s especially important when creating a website for a real business, because you don’t want fictional claims appearing as if they’re genuine.
Another detail I specified was that the website should have a subtle tropical personality without looking like a travel website.
After all, Marketing Island is about software and online business, not booking your next vacation!
One thing I noticed during the demonstration is that the prompt field has a character limit. You don’t need an enormous description, but you should include enough detail to explain your business, branding, and desired pages.
Once everything looked good, I clicked the option to build the website for free.
Step 4: Create Your Account And Generate The Website
After submitting the prompt, Bluehost asked me to create an account.
There were different sign-up options available, and I chose to register using my email address.
Once that was completed, Bluehost began reading my prompt and generating the website.
The builder also presented a short guided tour explaining some of the available features.
These included previewing the website, adjusting settings, managing data, sharing a preview, and publishing the finished project.
During setup, I also encountered a few questions about my business, including my role, industry, and what I wanted to accomplish.
I selected business-related options to continue the demonstration. These questions help tailor the setup experience, although the specific answers you choose will depend on your own project.
After the builder finished, it was time to see whether the generated website actually matched my instructions.
Step 5: Preview Your AI-Generated Website
My first impression of the generated Marketing Island website was surprisingly positive.
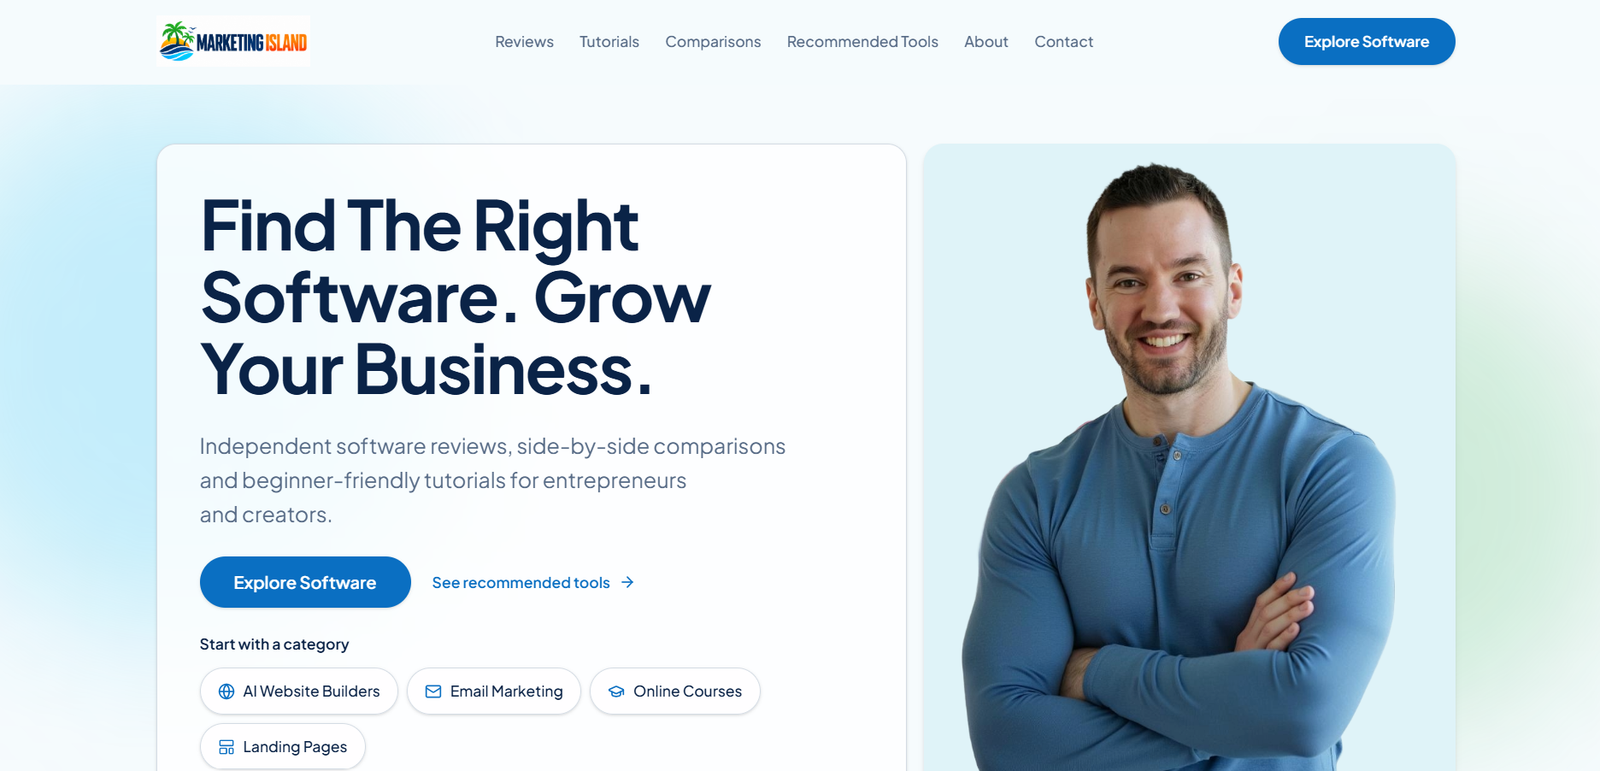
Bluehost had incorporated my uploaded logo, used a clean ocean-blue color scheme, and created a homepage that closely followed the direction I provided.
The website included a prominent headline about finding the right software for your business, along with an Explore Software button.
It also generated sections featuring software reviews, comparisons, beginner tutorials, and recommended tools.
There were even example software entries featuring recognizable products such as Mailchimp, Hostinger, and Wix.
Of course, these were examples rather than my actual published reviews, so they would need to be replaced before using the website for a real business.
The overall layout was clean, with a professional appearance and subtle tropical colors that fit the Marketing Island brand.
It also included some nice visual movement as I scrolled through the page, making the sections feel a little more engaging.
For something generated from a prompt and an uploaded logo, I thought the initial result was quite good.
Step 6: Explore The Additional Website Pages
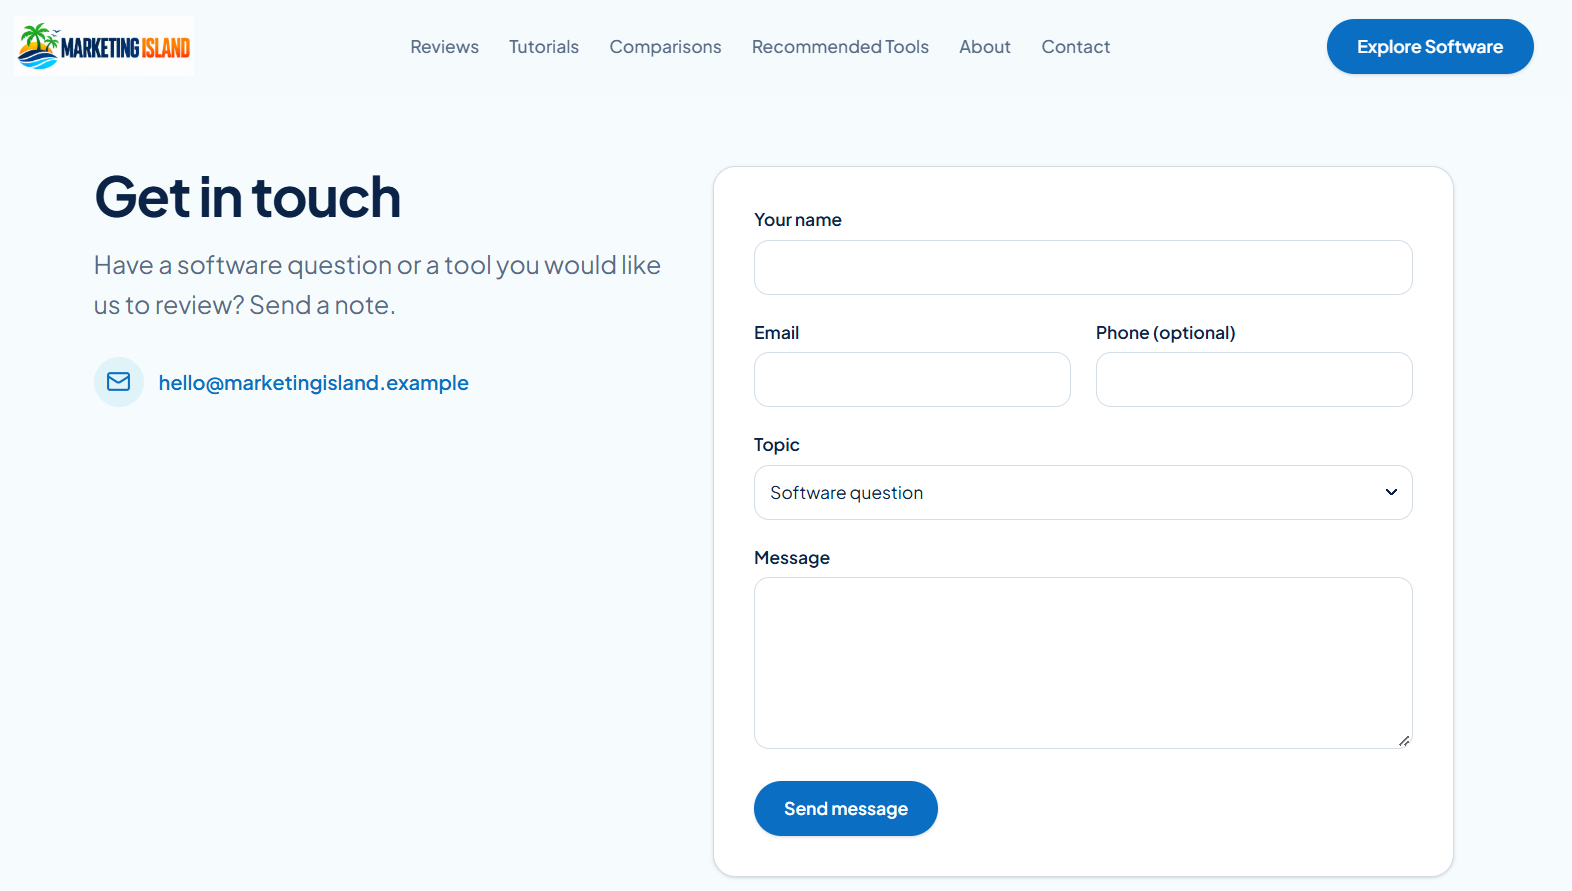
Bluehost didn’t stop at creating a homepage.
For my project, it generated five pages:
- Home
- Explore
- Recommended Tools
- About
- Contact
That’s useful because it gives you a starting structure for an entire website rather than leaving you with just a single landing page.
I clicked through several of these pages to see what the builder had created.
The About page included example information about the brand, while the Contact page included placeholder contact details.
And that’s something important to understand: an AI-generated website isn’t automatically a finished website.
The builder doesn’t know every detail about you or your business. You’ll still need to review the copy, replace sample information, verify contact details, and make sure everything is accurate.
For my demonstration, the structure was there, but some of the information would definitely need to be customized before treating the site as a finished Marketing Island website.
Step 7: Check The Desktop And Mobile Versions
Another feature I tested was the ability to preview the website at different screen sizes.
Bluehost allowed me to switch between desktop and mobile views, making it easier to see how the generated design would look on different devices.
In my demonstration, the mobile layout looked clean and well-organized.
I also used the share preview link option to open the website in a separate browser tab.
This gave me a larger view of the design, which made it easier to examine the homepage, images, colors, and overall spacing.
I recommend doing this with your own website before publishing. A design can look great inside a small preview window but still have elements you’d like to change when viewed at full size.
Step 8: Customize Your Website Using AI Prompts
This is where the demonstration became particularly interesting.
Although I liked the initial design, the homepage contained several placeholder photos of people who obviously weren’t me.
For a personal brand like Marketing Island, that wasn’t exactly what I wanted.
Instead of manually rebuilding the section, I decided to ask Bluehost AI Builder to make the change.
I uploaded a photo of myself and requested that the builder replace the existing portrait images with my uploaded image.
The AI processed the request and updated the website.
There was just one problem: it replaced all three portraits with pictures of me!
Apparently, one James wasn’t enough.
Technically, the builder had followed my request, but the result wasn’t quite what I had in mind.
So I submitted another instruction explaining that I only wanted to keep the top image and remove the other two.
After the second update, the homepage featured a single image of me alongside the main headline.
That’s exactly what I was looking for.
This is a useful example of how AI website customization works. Your first instruction might not produce the perfect result, but you can refine it with additional prompts.
My recommendation: Be as specific as possible when requesting changes. Instead of simply asking to replace some images, explain which images should be replaced, which should remain, and where you want the final image positioned.
That can help avoid unnecessary revisions and save your available credits.
Step 9: Understand The Free Credits
One thing worth mentioning is that Bluehost AI Builder provides a limited number of credits when you’re testing the builder for free.
During my demonstration, I was able to generate the website and make several changes, but I eventually reached a point where only two credits remained.
That means it’s worth thinking through your instructions before submitting additional requests.
Rather than making lots of tiny changes individually, consider combining related adjustments into one clear prompt when appropriate.
The free experience gave me enough room to explore the website-building process and make a few useful improvements.
However, if you’re planning to spend a lot of time refining every page and element, you’ll want to review the available paid options and current credit limits.
The important distinction is that you can try the builder without entering a credit card, but that doesn’t mean unlimited AI changes or every website feature will be free.
Step 10: Publish Your Bluehost AI Website
Once I was happy with the updated homepage, I moved on to the publishing process.
Clicking Publish presented several options, including buying a domain, connecting an existing domain, or publishing the website using the available publish-now option.
For the tutorial, I chose to publish the website without purchasing or connecting a custom domain.
Bluehost processed the request and made the generated website available at its own web address.
I then opened the published version to confirm that the updated design appeared correctly.
The final website included my logo, the main headline, the software-related sections, the additional pages, and the corrected homepage image.
There were still a few things I’d want to change before using it as my primary business website, particularly the placeholder content and some branding details.
But the main website structure was already in place, and I was able to take the project from a written description to a published website during the demonstration.
Is Bluehost AI Builder Worth Trying?
After going through the process myself, I think Bluehost AI Builder is an interesting option for anyone who wants to experiment with creating a website using artificial intelligence.
What impressed me most was how closely the initial result followed my instructions.
It used my logo, incorporated the colors I wanted, generated relevant homepage sections, and created several additional pages.
I also liked being able to make changes through written prompts rather than manually editing every part of the design.
That said, there are a few things to keep in mind.
- Placeholder content needs reviewing: Example images, software entries, and contact information may need replacing.
- Prompts should be specific: My photo replacement took two attempts to get exactly right.
- Free credits are limited: You’ll want to use them thoughtfully.
- Final quality still depends on you: A generated website should be checked carefully before being used for a real business.
For me, the initial website was surprisingly close to what I wanted. Most of my changes involved refining the images and cleaning up details rather than completely rebuilding the design.
Final Thoughts On Bluehost AI Builder
Overall, I enjoyed testing Bluehost AI Builder.
Being able to upload a logo, describe a business, generate a multi-page website, customize it with additional prompts, and publish the result made for a pretty enjoyable experience.
It wasn’t perfect, and I wouldn’t expect any AI website builder to know every detail about my business from a single prompt.
But as a starting point, I was impressed with what it produced.
If you’ve been thinking about building a website but don’t want to start completely from scratch, this is something worth experimenting with.
And since it’s $0 to start, no credit card, you can see what the builder creates before deciding whether to take things further.
👉 Try Bluehost AI Builder Here
Thanks for checking out my Bluehost AI Builder tutorial, and enjoy!